Getting Started with Chromecast on Visualforce
About a month ago, Google released the Google Cast SDK, allowing developers to create apps that run on the Chromecast, a $35 digital media player. The primary use case of Chromecast is to stream media - movies, TV shows, music and the like - via wifi to your HDMI TV/monitor, but, looking at the SDK docs, it became apparent that the Chromecast is actually a miniature (‘system-on-chip’) computer running Chrome OS (a Linux variant) and the Chrome browser. If it’s running a browser, I wondered, could it load Visualforce pages from Salesforce and display, for example, a chart based on live data? If so, this would allow any HDMI-capable TV or monitor to be used as a dashboard at very low cost. When I was given a Chromecast by a colleague (thanks, Sandeep!) in return for alpha testing his app, I decided to find out! This first blog post explains how I ran a simple ‘Hello World’ sample on the Chromecast, loading the app from Visualforce. Next time, I’ll show you how I pulled data from Salesforce via the REST API and showed it as a chart. 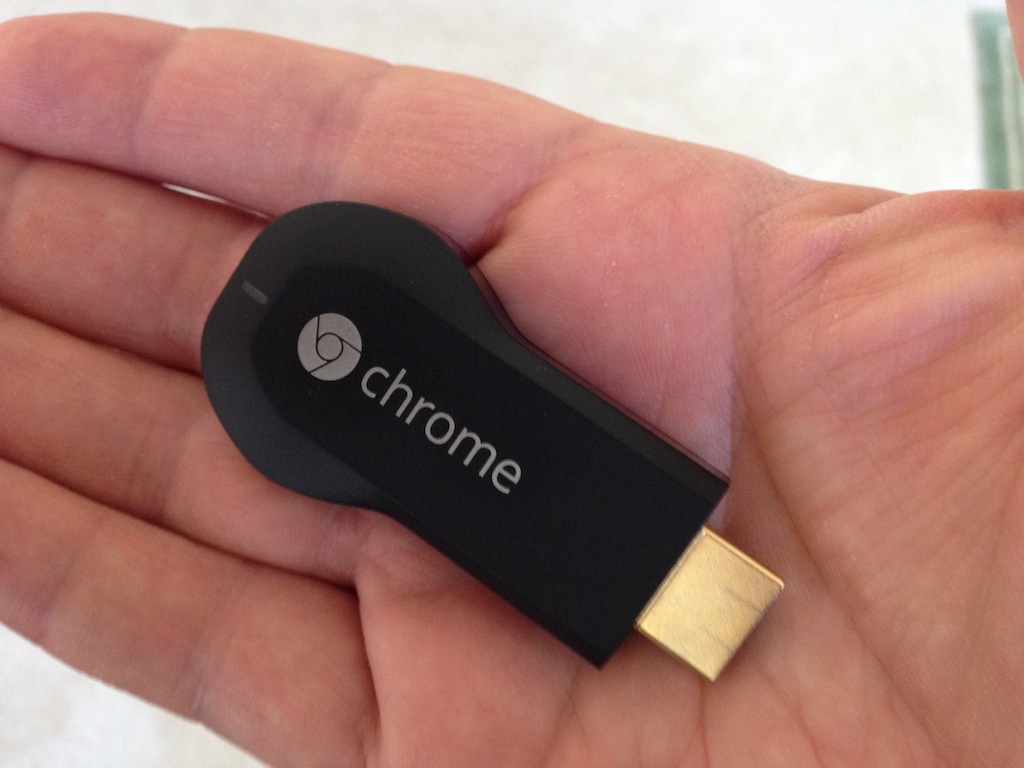 Chromecast setup was pretty straightforward - a matter of connecting the device to an HDMI input on my TV and a USB power source, downloading and running the Chromecast app, and following the prompts to complete setup. The Chromecast app locates the device on the local network using the DIAL protocol. Note that, since the app is communicating directly with the device, it won’t work on wifi networks that enforce AP/Client Isolation (many offices and hotels). After installing the Cast Extension for Chrome and verifying that the Chromecast could display content from YouTube, it was time to put the device into development mode! This actually proved to be pretty tricky - you need to enter the Chromecast’s serial number into the Google Cast SDK Developer Console. Sounds straightforward, but the serial number is laser etched into the Chromecast’s black plastic case in very small type indeed. I entered it incorrectly the first time round, and had to take a photo of the serial number and zoom in to see that the last character was an S and not an 8!
 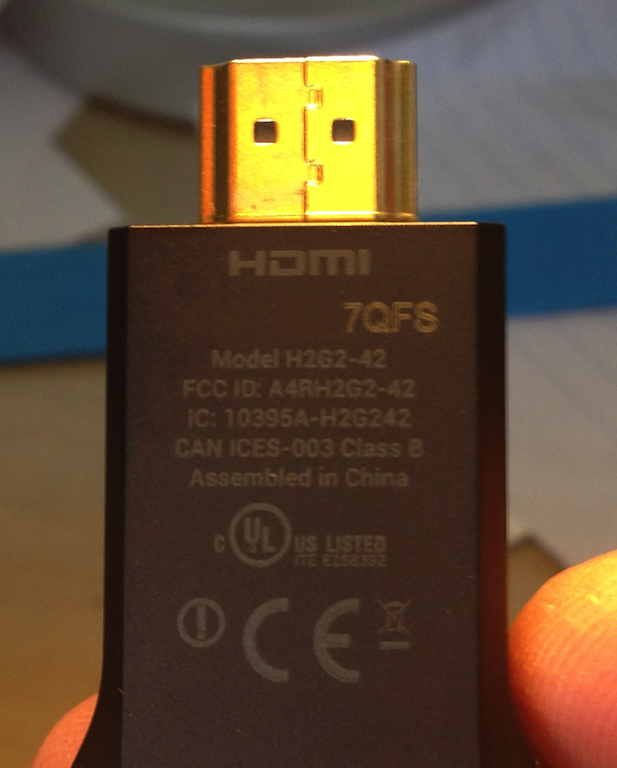 Another gotcha I encountered is that it’s necessary to go into the Chromecast settings (in the Chromecast app) and enable Send this Chromecast’s serial number when checking for updates. This information is on a separate page from the device registration instructions, so it’s easy to miss. Now my Chromecast showed up in the developer console, it was time to get an app running. Since the Chromecast has no input devices (keyboard, mouse, etc), a ‘receiver app’ running in an HTML5 page on the device is controlled by a ‘sender app’ running on a ‘second screen’ such as a laptop, smartphone or tablet. The two apps are connected over the local network by a message bus exposed by the Google Cast SDK.
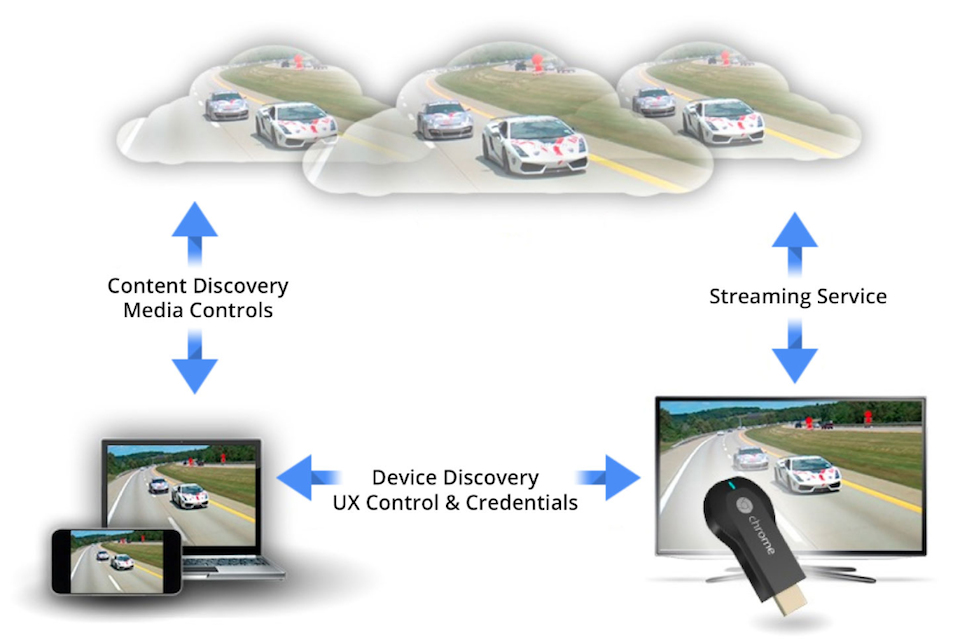
Looking through the samples, CastHelloText-chrome looked like the simplest example of a custom receiver. In the sample, the sender app, running on an HTML5 page in Chrome, allows you to enter a message (‘Hello World’ is traditional!) and sends it on the bus. The receiver app displays the message, and reflects it back to the sender, to demonstrate the bidrectional nature of the bus. It was straightforward to convert the vanilla HTML pages to Visualforce - the first change was to wrap the entire page in an tag and remove the DOCTYPE, since Visualforce will supply this when it renders the page.
<apex:page docType="html-5.0" applyHtmlTag="false" applyBodyTag="false"
           showHeader="false" sidebar="false" standardStylesheets="false"
           cache="false">
<!-- <!DOCTYPE html> -->
<html>
...rest of the page...
</html>
</apex:page>
Visualforce doesn’t like HTML attributes with no value, so, in chromehellotext, I changed
<input id="input" type="text" size="30" onwebkitspeechchange="transcribe(this.value)" x-webkit-speech/>
to
<input id="input" type="text" size="30" onwebkitspeechchange="transcribe(this.value)" x-webkit-speech="true"/>
Adding the Visualforce pages to a Force.com Site made them public on the web. This is important - the Chromecast can only load public web pages - it has no way of authenticating to a server. You’ll find out in the next blog post how I was able to access the Force.com REST API to securely retrieve content. Once I had a pair of public pages, I registered my sample app, entering the public URLs for my Visualforce pages, and pasted the resulting app ID into the chromehellotext page. Loading that page gave me a text control into which I could type a message. Hitting return to submit the message pops up the Cast device selector.

I selected my device from the list, and - ‘BAM!’ - my message popped up on the TV screen - success! 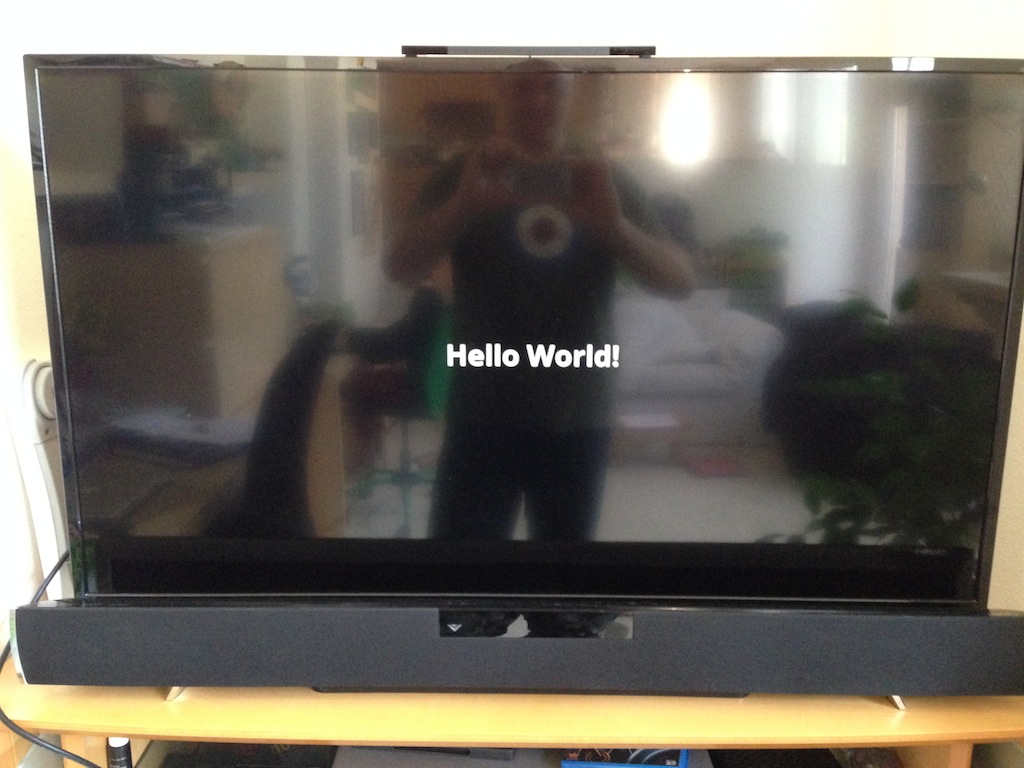 One very nice feature of the Chromecast is that it allows remote debugging in Chrome. You can find the device’s IP address in the Chromecast app, say 192.168.1.123, and simply go to port 9222 at that address, in my example, http://192.168.1.123:9222/.
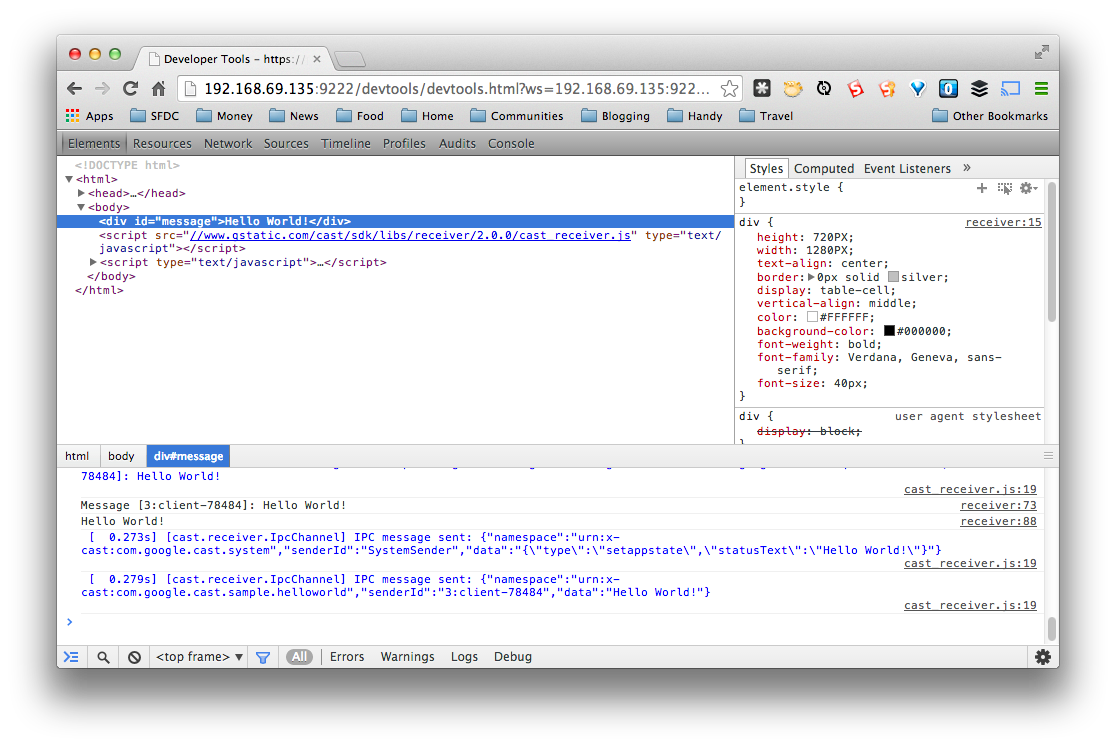
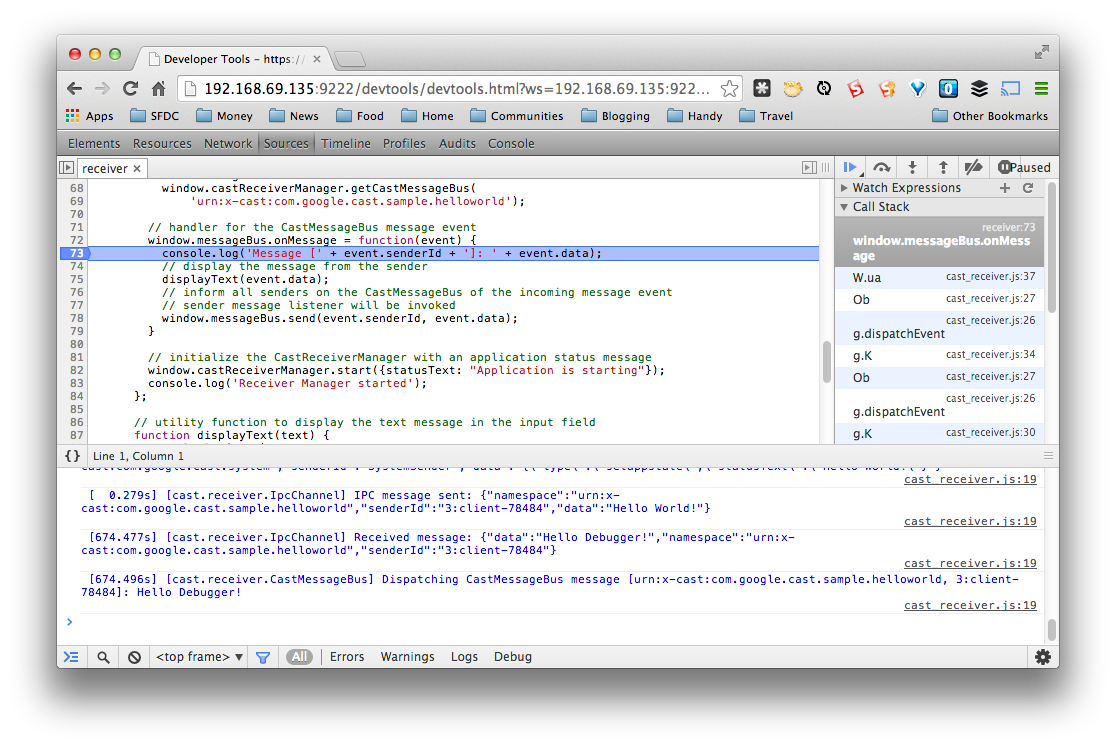
You get the usual Chrome developer tools, right down to the ability to set breakpoints and inspect variables in JavaScript - marvelous!
I’ve published the sample app, so you can try it out yourself. If you have a Chromecast, go to my sender app page; you should be able to connect to your device and send a message. At this point, I had to do some thinking. The Chromecast, as I mentioned before, loads a page from a public web server. How could I show data on the page, preferably without making the data itself publicly available? Read on to the next post! Portions of this page are reproduced from work created and shared by Google and used according to terms described in the Creative Commons 3.0 Attribution License.
Comments
Display ANY Visualforce Page on Google Chromecast « Superpatterns
[…] Last time, I described how I ran a simple 'Hello World' application, served from a Force.com Site, on the Google Chromecast, a $35 digital media player. In this blog entry, I'll show you how to show any Visualforce page, not just a public page on a Force.com Site, on the Chromecast. […]
CloudLife Podcast #6 | Desynit
[…] Pat Patterson & Chromecast API […]
Tronix
Can you control the chromecast via Keyboard input? For instance can you move around the Chromecast homepage using the Up/Down/Left/Right keys of your PC’s keyboard? Can you type numbers to a Chormecast app (for example changing channels within STB Emu)?
Pat Patterson
Yes - the sender app can receive keyboard input and use it to control the receiver app via the message bus. If you follow the links through the set of three blog posts, you’ll see how you can do some pretty elaborate things.
Leave a Comment
Your email address will not be published. Required fields are marked *